Create a playground
Go to Playgrounds and select Create empty playground or + Playground. A playground includes:- Tasks: One or more prompts, workflows, or scorers to evaluate
- Scorers: Functions that measure output quality
- Dataset: Optional test cases with inputs and expected outputs
Add tasks
Tasks define what you’re testing. Select + Task and choose a type:Prompts
Prompts
Configure AI model, prompt messages, parameters, tools, and MCP servers. This is the most common task type for testing model responses. See Write prompts for details.When you select a saved prompt, hover the row to reveal a version submenu with Latest version plus any historical versions, so you can add a specific past version. Prompts with only one version are directly selectable.
Workflows
Workflows
Chain multiple prompts together to test complex workflows. Workflows allow you to create multi-step processes where the output of one prompt becomes the input for the next.To create a workflow, select + Workflow and create or select prompts to chain together. The prompts run consecutively, with each prompt receiving the previous prompt’s output as input.Variables in workflows:Workflows use templating to reference variables from datasets and previous prompts:
- First prompt node: Access dataset variables directly using
{{input}},{{expected}}, and{{metadata}}. For consistency, you can also use{{dataset.input}},{{dataset.expected}}, and{{dataset.metadata}}. - Later prompts: Access the previous node’s output using
{{input}}. If the previous node outputs structured data, use dot notation like{{input.bar}}. - Global dataset access: The
{{dataset}}variable is available in any prompt node to access the original dataset values (available in self-hosted deployments starting withv1.1.1).
Scorers as tasks
Scorers as tasks
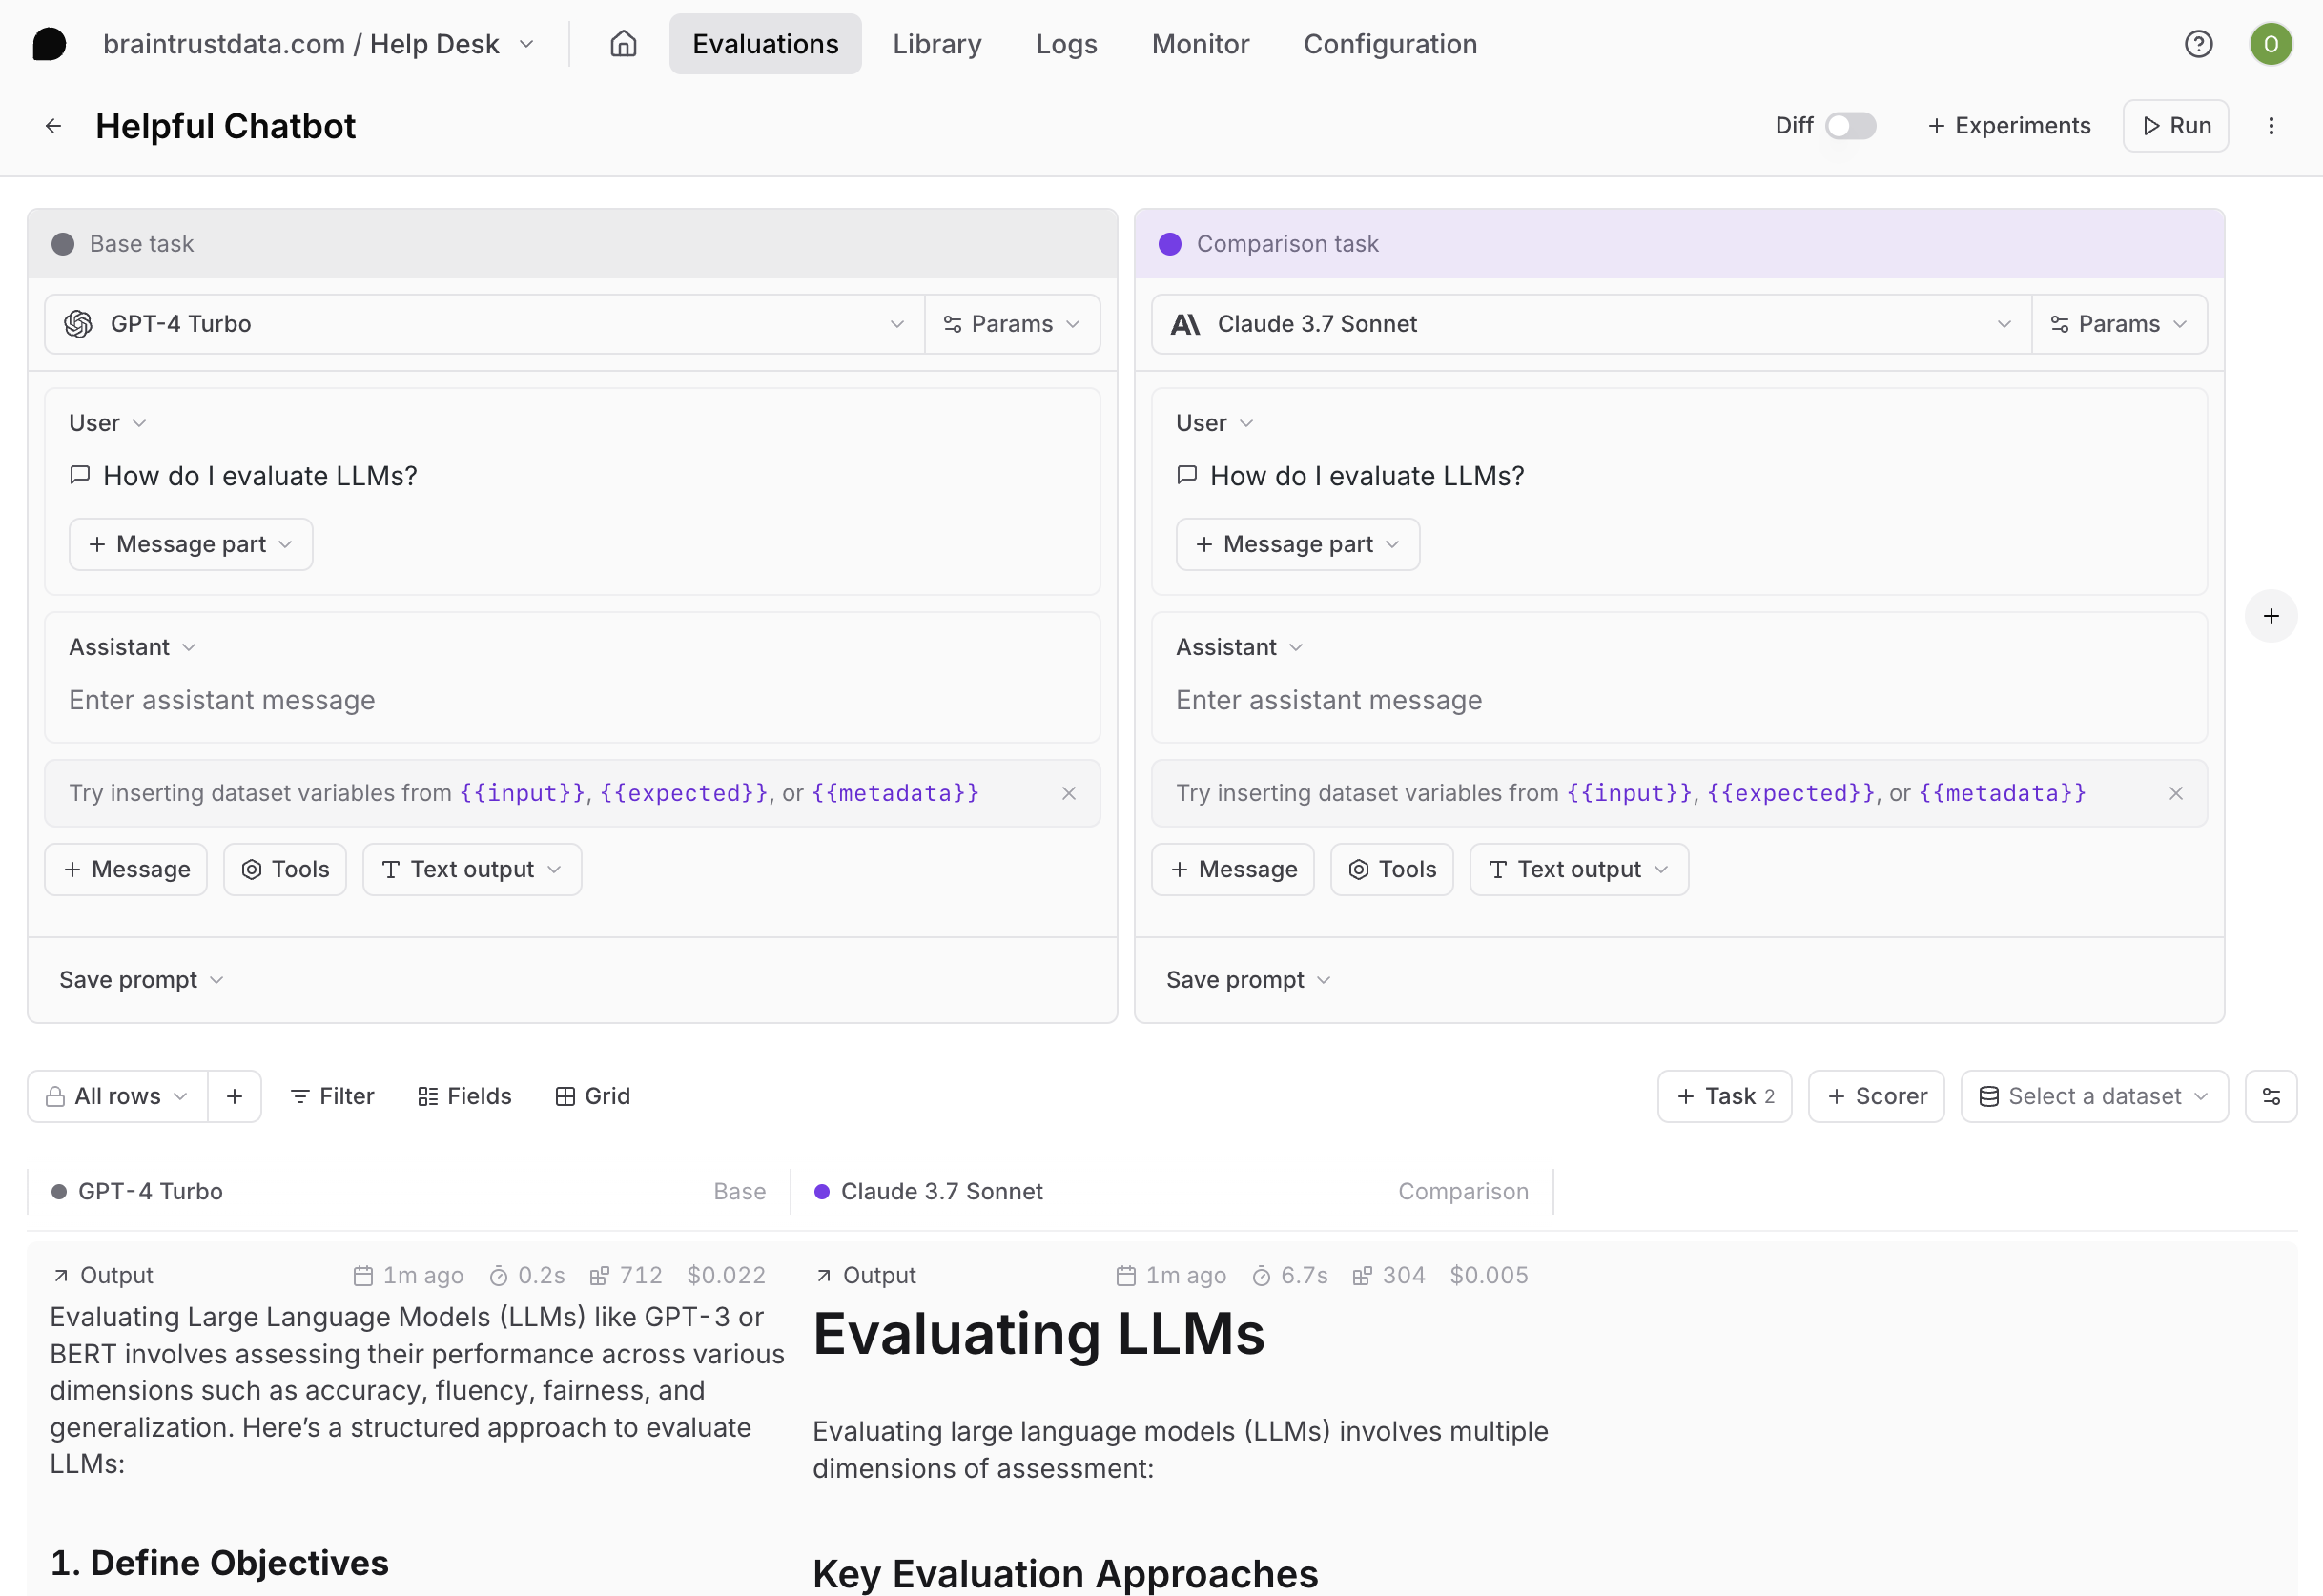
Run scorers as tasks to validate and iterate on them before using them to evaluate other tasks. See Write scorers for details.An empty playground prompts you to create a base task and optional comparison tasks. The base task is the source for diffing outputs.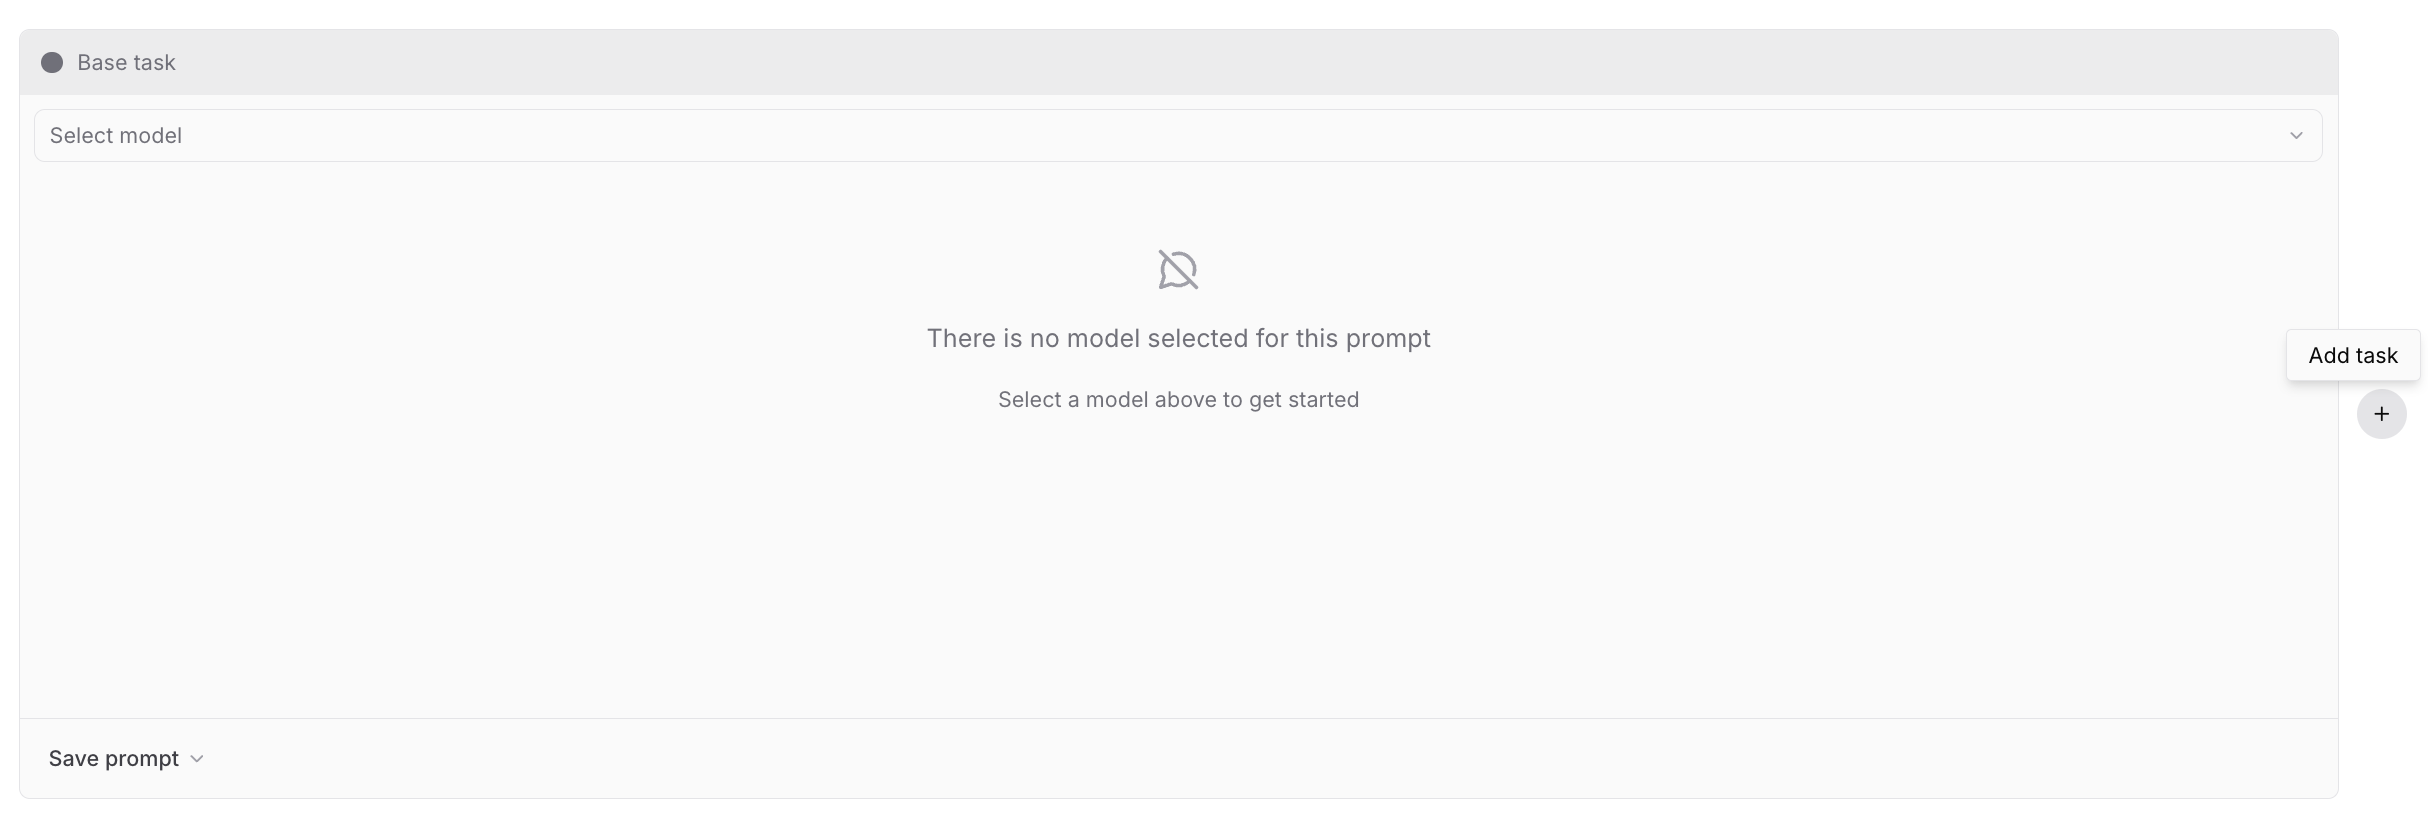
Scorers-as-tasks are different from scorers used to evaluate tasks. You can even score your scorers-as-tasks.
Configure AI providers in organization settings, or configure them inline directly from the playground when you first run it.
Remote evals and sandboxes
Remote evals and sandboxes
Remote evals and sandboxes are complex tasks that you can’t express as a prompt. They are evaluated on your own infrastructure or in a sandbox, and the results are streamed back to the playground.See Test complex agents for details.
Add scorers
Scorers quantify output quality and run automatically after each generation. To add a scorer, select + Scorer and choose from:- Autoevals: Pre-built scorers for common tasks like factuality, semantic similarity, and format validation. Ready to use with no configuration.
- LLM-as-a-judge: Evaluate outputs using a language model and natural language criteria. Good for subjective qualities like tone or helpfulness.
- Custom code: Write TypeScript or Python scoring logic directly in the browser editor for rule-based or calculation-based checks.
Each classifier appears as its own column in the playground results, showing the chosen label. To see the model’s reasoning, open the row’s trace and find the classifier span.
Add datasets
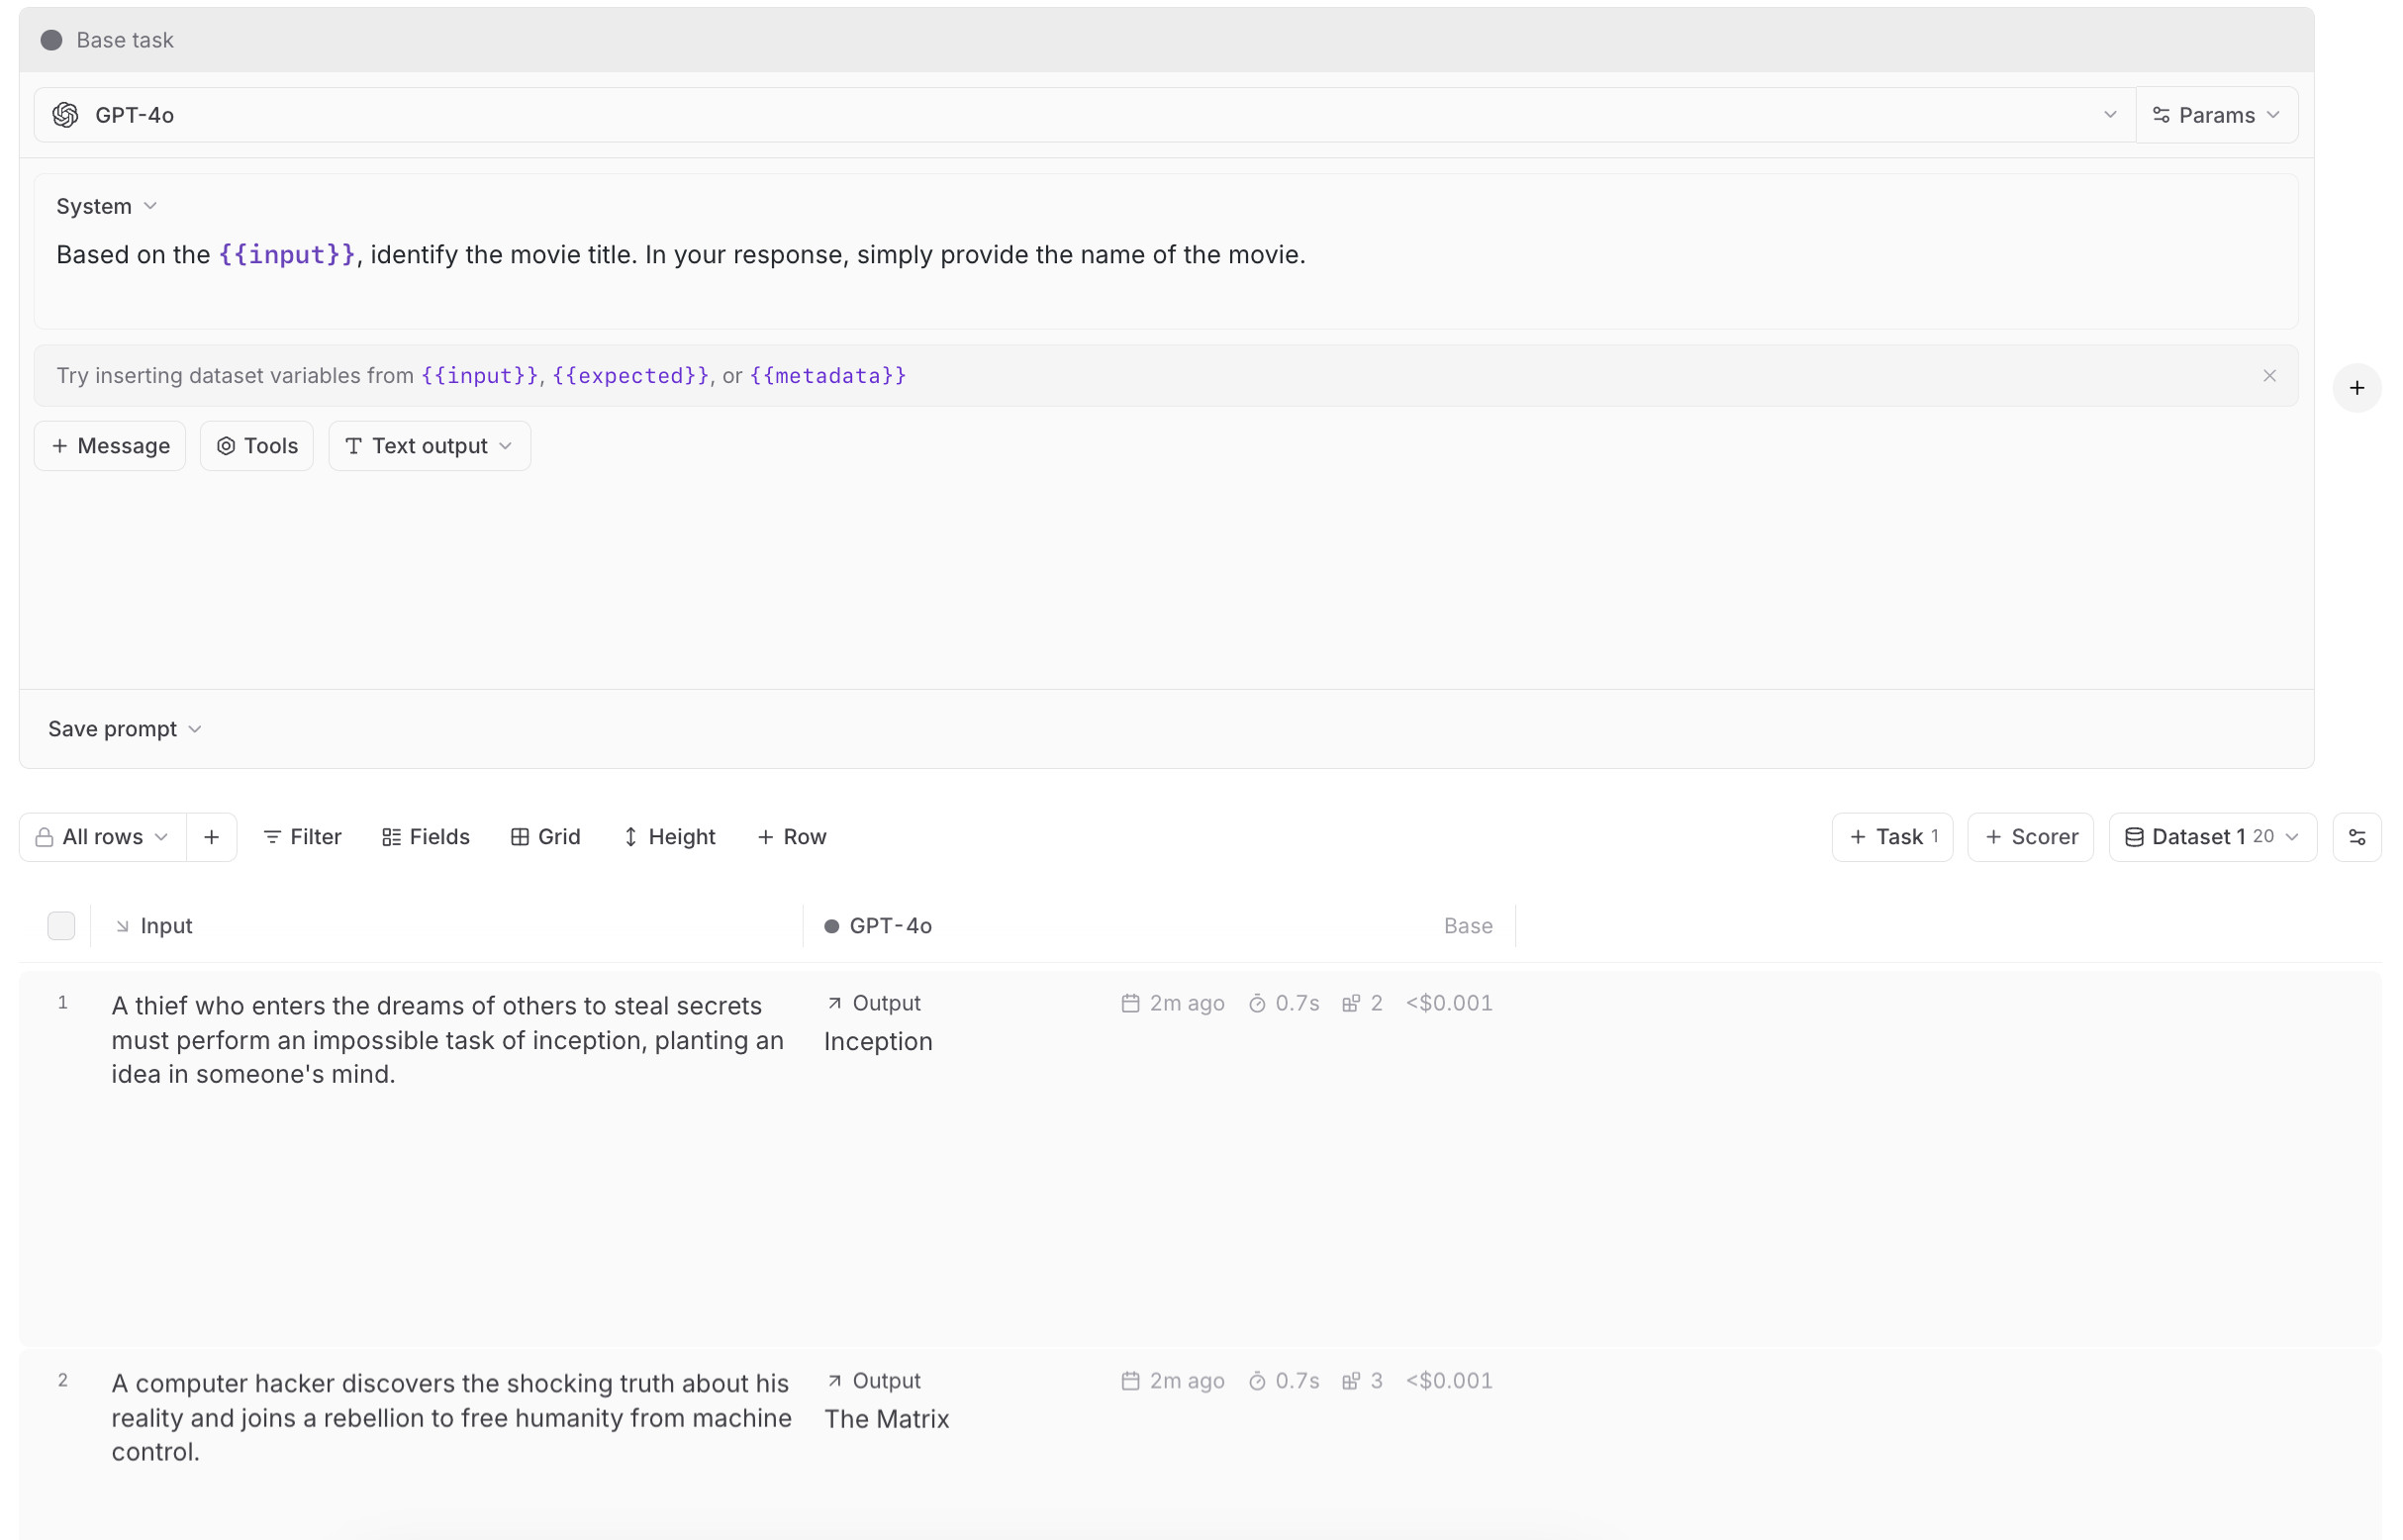
Link a dataset to test multiple inputs at once. Without a dataset, the playground runs a single evaluation. With a dataset, it runs a matrix of evaluations across all test cases. You can select an existing dataset or create a new one inline without leaving the playground. When creating a dataset, you have two options:- Upload CSV/JSON: Import test cases from a file
- Empty dataset: Create a blank dataset to populate manually later
{{input.formula}}.
Image attachments
When a dataset variable contains an array of attachments, the playground expands it into one image part per item. Add an image content part to your prompt and enter the variable name (e.g.{{images}}).
Array items can be Braintrust attachments, inline attachments, or plain URL strings.
Scorers-as-tasks
When evaluating scorers, dataset inputs should match scorer convention:{ input, expected, metadata, output }. These fields are hoisted into global scope for easy reference.
Example scorer prompt:
Run evaluations
Select Run (or Cmd/Ctrl+Enter) to run all tasks and dataset rows in parallel. Results stream into the grid below. You can also:- Run a single task
- Run a single dataset row
- View results in grid, list, or summary layout
UI experiments run without a time limit on cloud and on self-hosted deployments running data plane v2.0 or later.
View traces
Select a row to compare traces side-by-side and identify differences in outputs, scores, metrics, and inputs: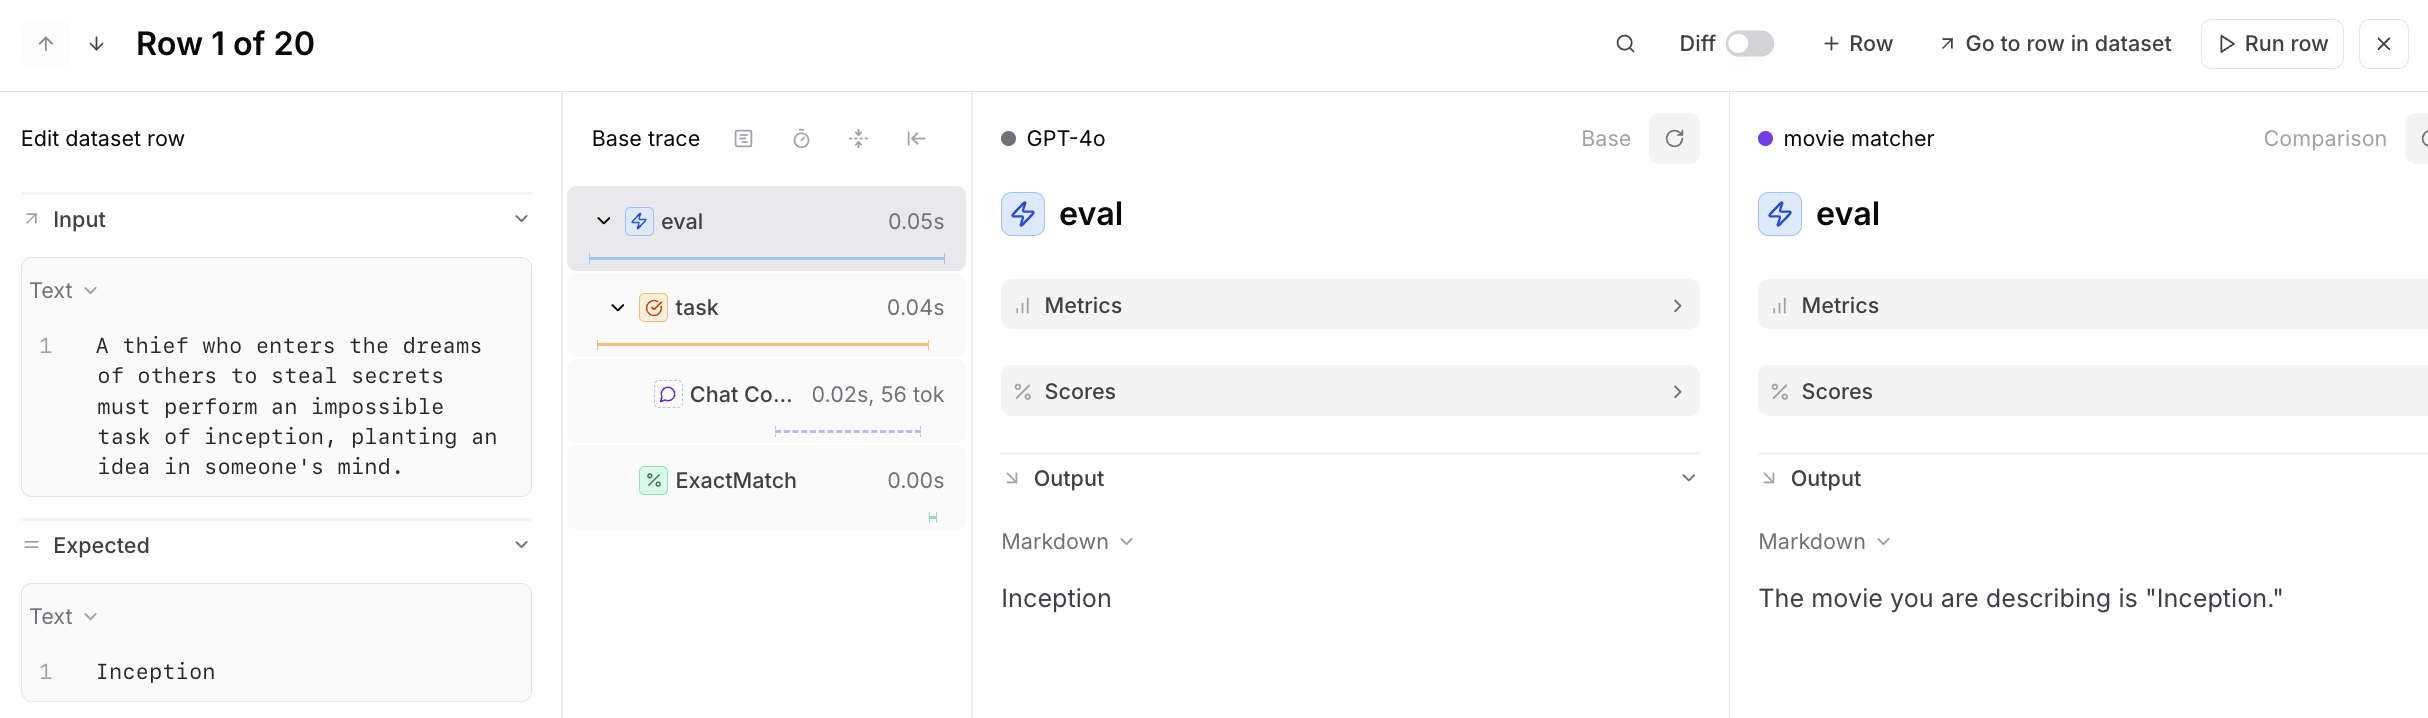
Annotate outputs
only available on Pro and Enterprise plans.
- Select or in a result cell.
- Add a free text comment and click Save.
- Repeat across any outputs you want to flag.
- Select Optimize in the toolbar to open Loop with your annotations as context.
- Review Loop’s prompt suggestions and apply changes to iterate.

Compare with diff mode
Enable the diff toggle to visually compare variations across models, prompts, or workflows: Diff mode highlights:- Output differences between tasks
- Score changes
- Timing and token usage variations
Save as experiment
Playground runs overwrite previous results on each run. When you’ve found a configuration worth keeping, select + Experiment to promote it to an immutable snapshot. See Run experiments for details.Share playgrounds
Collaborate by sharing playground URLs with teammates. They’ll see the same configuration and can run their own evaluations or make changes. Playgrounds automatically synchronize in real-time. Your collaborators must be members of your organization to view the playground. You can invite users from the settings page.Best practices
Start simple: Test one prompt or model first. Add comparisons once the base works. Use representative data: Build datasets from production logs or known edge cases. Compare systematically: Change one variable at a time (model, temperature, prompt wording) to isolate effects. Look for patterns: Group by metadata fields to see which input types cause issues. Iterate quickly: Playgrounds excel at rapid experimentation. Save experiments only when you need permanent records.Advanced options
Append dataset messages
You may have additional messages in a dataset that you want to append to a prompt. This option lets you specify a path to a messages array in the dataset. For example, ifinput is specified as the appended messages path and a dataset row has the following input, all prompts in the playground will run with additional messages:
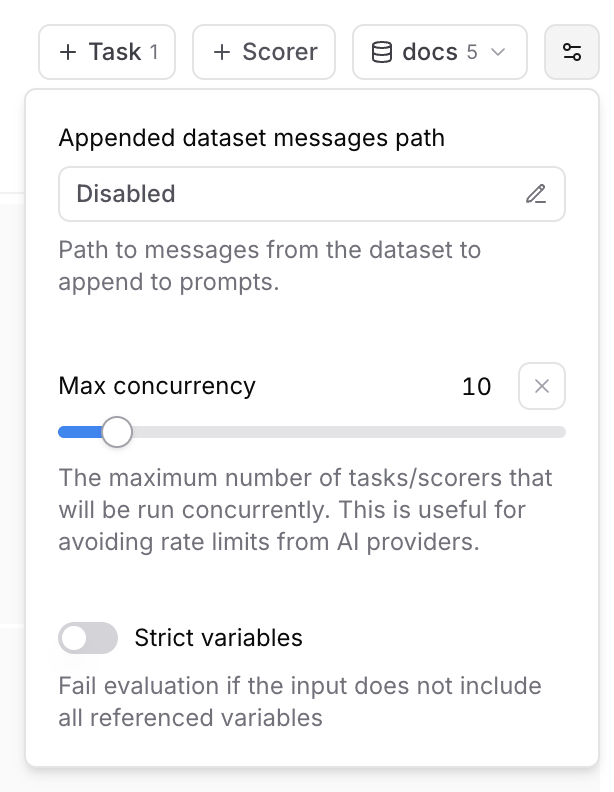
Max concurrency
The maximum number of tasks/scorers that will be run concurrently in the playground. This is useful for avoiding rate limits (429 - Too many requests) from AI/MCP providers.Strict variables
When this option is enabled, evaluations will fail if the dataset row does not include all of the variables referenced in prompts.Sample rate
Sample rate controls the percentage of dataset rows evaluated in a playground run. Reduce it to run against a random subset of your dataset for faster iteration on large datasets before promoting a configuration to an experiment. At 100% (the default), every row runs. Sample rate applies only to full runs, not single-row runs. To evaluate the full dataset, save the playground as an experiment.Reasoning models
If you are on a self-hosted deployment, reasoning support is available starting with
v0.0.74.
- Select a reasoning-capable model (like
claude-3-7-sonnet-latest,o4-mini, orpublishers/google/models/gemini-2.5-flash-preview-04-17for Gemini via Vertex AI). - In the model parameters section, configure your reasoning settings:
- Set
reasoning_effort. Supported values depend on the selected model. Most reasoning models acceptlow,medium, andhigh. Gemini 3 models in Google format also acceptminimal. - Or, for models that support a token budget, enable
reasoning_enabledand specify areasoning_budget.
- Set
- Run your prompt to see reasoning in action.
Gemini 3 models in Google format use
reasoning_effort only. The reasoning_enabled and reasoning_budget parameters do not apply, and the playground hides those controls when a Gemini 3 Google-format model is selected.
Create custom table views
The Playgrounds page supports custom table views to save your preferred filters, column order, and display settings. To create or update a custom table view:- Apply the filters and display settings you want.
- Open the menu and select Save view… or Save view as….
Custom table views are visible to all project members. Creating or editing a table view requires the Update project permission.
Set default table views
You can set default views at three levels:- Organization default: Visible to all members when they open the page. This applies per page. For example, you can set separate organization defaults for Logs, Experiments, and Review. To set an organization default, you need the Manage settings organization permission (included by default in the Owner role). See Access control for details.
- Project default: Overrides the organization default for everyone viewing this project. To set a project default, you need the project-level Update permission. Project admins can set project defaults even without organization-level permissions. See Access control for details.
- Personal default: Overrides the project and organization defaults for you only. Personal defaults are stored in your browser, so they do not carry over across devices or browsers.
- Switch to the view you want by selecting it from the menu.
- Open the menu again and hover over the currently selected view to reveal its submenu.
- Choose Set as personal default view, Set as project default view, or Set as organization default view.
- Open the menu and hover over the currently selected view to reveal its submenu.
- Choose Clear personal default view, Clear project default view, or Clear organization default view.
Next steps
- Add human feedback for structured review workflows
- Test complex agents in the playground via remote evals or sandboxes
- Run experiments with the SDK or in the UI
- Run in CI/CD to catch regressions automatically
- Score production traces with online scoring rules